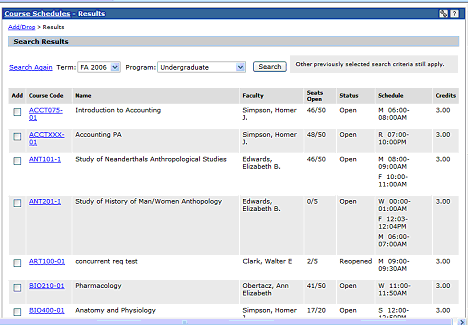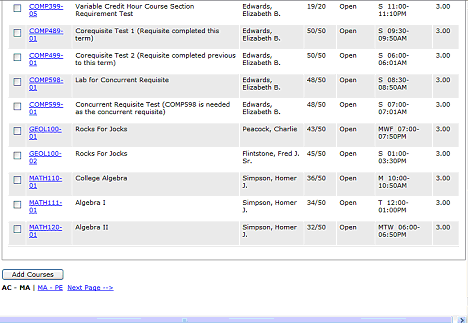
The Course Search Results screen displays the information returned by conducting a Course Search.


Drop-down list boxes are provided to conduct another search with the same criteria using a different Term and Division at the top of the screen.
For each course returned, the Course
Code, Name, Faculty,
Seats Open, Status
(O=open), Schedule, and Credits are displayed in the results
table. Courses with requirements will display an
icon ( ) in the Req column that
is a link to the Course
Requisites screen for that course. To
register for a course, click its check box in the Add
column. After all desired courses are checked,
click the Add Courses button.
For CX clients: The user has the ability to configure the manner in which the available seats are displayed in the course search results and course details screens by running a macro on the CX side (read the CX Registration Implementation Guide). Seats can display as the number "Open" or "Registered" out of the total number available (# / total #). To change the display in JICS to say “Registered”, your administrator must edit the FWK_Globilization table in the JICS database. Search for TXT_SEATS_OPEN and change the text from “Seats Open” to “Registered”.
For CX clients: A value of "N" in the print field of the section record in the CX database prevents a course from being found during a course search. However, faculty class lists and student schedules still display the course to correctly reflect registration activity. The print schedule flag in the meeting record of the CX database is now honored. If the flag is set to "N" for any scheduled meeting, the student does not see the meeting in the student schedule or course search results. Faculty sees all meetings, regardless of this setting.
For additional information on a found course, click the Course link in the Course Code column. From the course details screen, you can register for that course by clicking + Add this course.